Developing old films can be an exciting and rewarding experience. It’s a great way to bring new life to memories and stories tucked away in an old film box. Whether you’re a veteran photographer or just getting started, it’s easy to bring your old film back to life. With a little effort and some basic supplies, you can learn how to develop old films at home. In this step-by-step guide, we’ll walk you through the process, from selecting the proper film to developing and storing it. With a few simple steps, you can restore and enjoy the memories of your past. So let’s get started and learn how to develop old films!
Can I Develop Old Film?
Yes, you absolutely can develop old films! This can be a fun and exciting project for anyone who wants to explore the art of film photography. Developing your film is a rewarding experience, giving you complete control over the results.
What Is Developing Old Film?
- Developing old film is taking undeveloped film and turning it into a physical photograph. This process can be done at home or in a professional lab.
- Developing old film involves several steps, including exposing the film to light, developing it in chemicals, and finally fixing it so that the image will last for years to come.
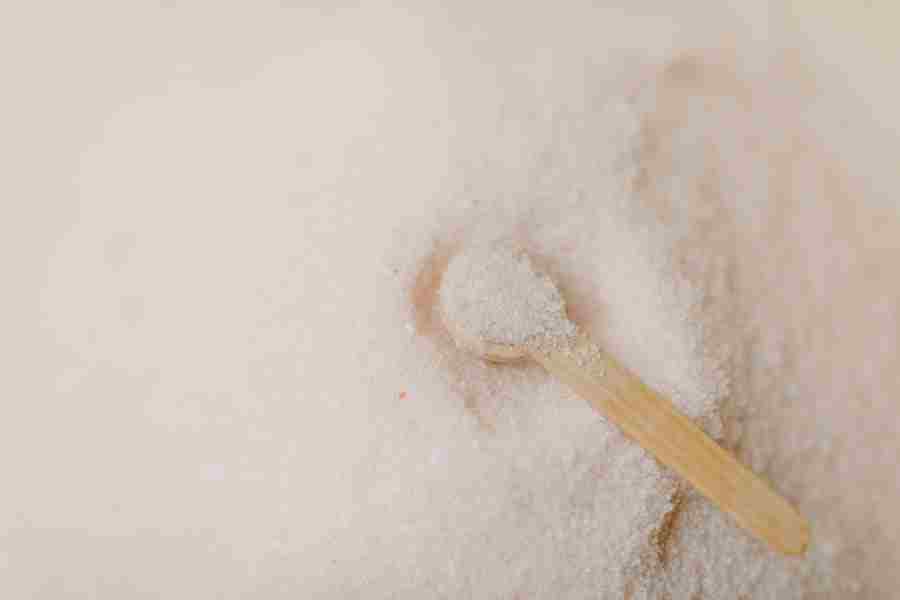
- Developing old films requires basic supplies, including a developing tank, film reel, scissors, thermometer, and chemicals.
- It is essential to use the correct chemicals for the type of film you are developing, as some films require different solutions.
- Developing old films also requires a darkroom or a light-tight space to work. This prevents the light from affecting your chemicals and ruining your photos.
What Kind Of Film Should I Use?
- Choose the right film. Before you begin developing your old film, it’s important to make sure that you’re using the right kind. Different types of film require different processing techniques, so it’s important to know what type of film you have before you start. Generally speaking, there are three main types of film: black and white negative, color negative, and slide (or reversal) film.
- Preparing for development. Once you’ve determined which type of film you have, it’s time to prepare for development. First, make sure that all the equipment and supplies you need are on-hand. This includes a darkroom or changing bag to work in, developer solution (such as Kodak D-76 or Ilford ID-11), stop bath solution (such as Ilford Rapid Fixer), photographic paper or prints (if desired), and a clear glass container with a lid for storage.
- Load your film onto a reel. Now it’s time to load your film onto a reel. To do this, you’ll need a film-changing bag or darkroom. Start by placing the reel into the bag and then unroll the film onto it. Make sure to keep the film flat and untangled as you go. Once the film is loaded onto the reel, close it up and set it aside.
- Developing your film. Now that everything is ready, it’s time to start developing your old film! Start by pouring your developer solution into a glass container with a lid and mix in any required additives (such as water). Next, place the filled container with your reel inside into a changing bag or darkroom. Finally, carefully pour in the developer solution until it covers all of the exposed areas of your reel, and allow it to work its magic for 10-15 minutes (or according to the manufacturer’s instructions).
What Supplies Do I Need?
- Film: You’ll need to select the correct film for your project. Different films require different developing processes, so make sure you know what type of film you have before you begin.
- Developing Tank: Next, you’ll need a developing tank and reels. This is where the film will be loaded and processed in chemicals.
- Chemicals: You’ll need to purchase a developer, stop bath, and fixer for your project. Make sure to read the instructions for each chemical carefully before use.
- Thermometer: To ensure that the chemicals are at optimal temperature, a thermometer is essential for accurate results.
- Timer: A timer will help you track how long each step takes so that your results are consistent each time you develop a film.
- Darkroom/Sink: Once your supplies are gathered, it’s time to start developing! Find a darkroom or area with a sink where you can work in complete darkness.
- Film Hangers: Lastly, you’ll need film hangers to hang the film after it has been developed.
How Do I Prepare The Film?
- Select the right film. Not all films are created equal, and some are better suited for development than others. Select a black and white or color negative film still in good condition. You should also check the expiration date of the film before you begin.
- Remove the film from its container. Carefully remove the film from its container, taking care not to touch any of the exposed surfaces of the film with your fingers.
- Roll up your film into a spiral shape. Starting at one end of the roll, begin rolling up your film into a tight spiral shape, making sure not to overlap any of the edges of the frames as you go along. This will help prevent light from getting in and fogging up your photos during development.
- Cut off any excess leader at both ends of the spiral roll with scissors or a craft knife, then tape it securely on both sides so it won’t unravel while working with it.
How Do I Develop The Film?
- Gather the supplies you’ll need to develop your film. This includes a developing tank, a reel, a developer solution, a stop bath, a fixer solution, and a water bath.
- Once you have all the supplies ready, it’s time to load the film into the developing tank. Make sure to follow the instructions that come with your developing tank.
- Now, it’s time to prepare the developer solution according to the instructions on the package. Make sure you use fresh chemicals and mix them properly for the best results.
- Pour the developer solution into the developing tank and place it in a light-safe area for processing. Agitate or rotate the tank every few minutes for even the development of your film.
- After about 10 minutes of agitation or rotation, pour out the developer solution and replace it with a stop bath for 1 minute of agitation or rotation.
- After 1 minute of the stop bath is complete, pour out the stop bath and replace it with a fixer solution for another 10 minutes of agitation or rotation.
- Once the fixer is complete, pour out the fixer and replace it with water for a few minutes of agitation or rotation to wash the film.
- Finally, remove the film from the tank and hang it up to dry in a light-safe area. Make sure to use clips or clothespins if necessary to keep the film flat while drying.
- Once dry, store your film in an airtight container in a cool, dry place until you’re ready to use it!
Conclusion
There are a lot of great reasons to develop old films. First, it’s a great way to bring new life to old memories and stories that have been tucked away in an old box of film. It’s also a great way to create new memories with your loved ones. With old films, you don’t have to worry about missing out on today’s modern technology. It’s also a great way to save money and avoid paying exorbitant prices for the film from a professional photographer. With a little bit of effort and some basic supplies, you can develop your film at home. So don’t wait any longer—start developing your old films today!