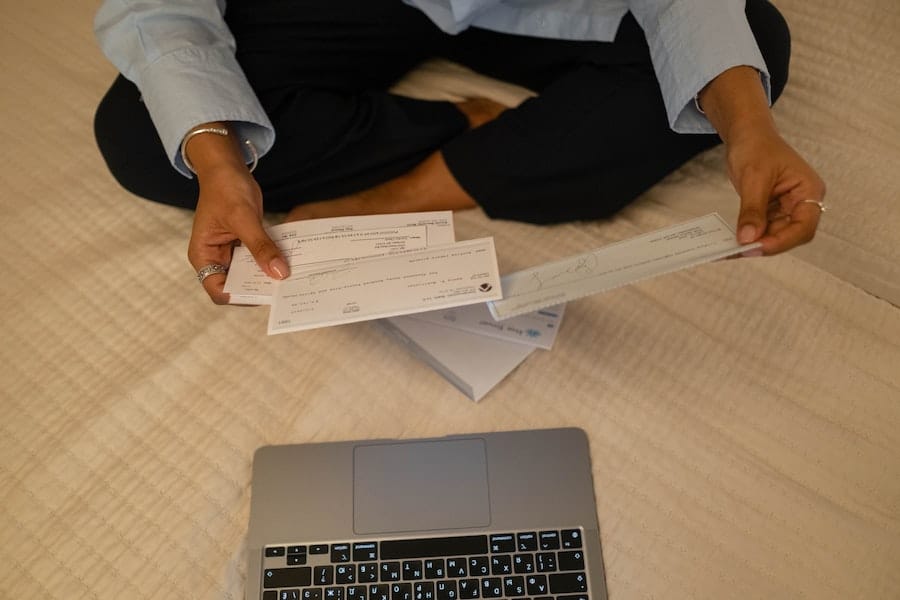
Depositing a cashier’s check may seem like a daunting task. After all, it requires a bit more effort than depositing a standard check. However, once you understand the process, you’ll find that depositing a cashier’s check is actually quite easy. In this step-by-step guide, you’ll learn exactly what you need to do to deposit a cashier’s check. From verifying the check to getting a receipt, we’ll cover all the necessary steps to ensure that you deposit the check safely and securely. So, if you’re ready to get started, let’s dive in and learn how to deposit a cashier’s check.
How To Deposit A Cashier’s Check?
If you’re depositing a cashier’s check at a bank or credit union, you will need to verify the check before making the deposit. This means that you’ll need to provide proof of identity and proof of funds.
Verifying a cashier’s check
To verify a cashier’s check, you have to provide proof of identity and funds. The best way to do this is by presenting your driver’s license or another state-issued ID card. If you don’t have one, then use another form of photo ID such as your passport or utility bill. You can also provide any other forms of documentation that show that you have the funds for the deposit. For example, if you are sending $1,000 to someone who doesn’t have a bank account, then provide an official statement from your employer showing that you earned $1,000 in wages during the pay period in question. As long as it proves that the funds are available for withdrawal from your account, it will be accepted by most banks and credit unions as proof of funds for verification purposes.
Getting a receipt for deposited cashier’s checks
Once you verify the check, you will be given a receipt and asked to sign the back of the check. In addition, you will receive a deposit slip with your account number on it. You’ll need this information to check your balance online or to get statements from your bank.
Signing cashier’s checks
You will need to sign the back of the check in order to verify that you deposited it correctly. If you are depositing more than one check, then you’ll need to sign each check in turn. If two checks are being deposited at once, then one person can sign both checks while another person verifies that both have been deposited correctly by signing them simultaneously. It is also okay for someone else to stand next to you as you sign each of the checks because this way, there is no way for someone else besides the verifying person (who may be standing next to you) to know which one of the cashier’s checks have been verified and which has not. Having someone else stand next to you as verification isn’t a problem because it is impossible for anyone but the verifying person (who may or may not have been standing next to you) and possibly other people who are present at the time to know which check has been verified and which one hasn’t.
Depositing cashier’s checks without a bank account
If you don’t have a bank account, then you can deposit cashier’s checks at many locations throughout the United States. In most of these places, you will be given a receipt with your account number on it. You will need this information to verify your deposit at another bank or credit union or for any other reason that arises later. Some banks and credit unions will also give you a receipt or other form of verification for free if you ask for it. If not, then it is usually okay to ask the teller for a receipt in order to verify your deposit.
Depositing cashier’s checks with an ATM card
You can also deposit cashier’s checks at hundreds of ATMs located throughout the United States by using an ATM card that is linked to your checking account at another financial institution (such as your bank) or by using a debit card linked to another bank account (such as a credit union). In these situations, the only paperwork that is involved is signing the back of the check and verifying that you deposited it correctly. You should always bring your ATM card or debit card to the bank and tell the bank teller or anyone else at the bank that you are depositing a cashier’s check. You should also get a receipt from the bank teller or anyone else at the bank so you can use it later to verify that you deposited your cashier’s check correctly.
What Is A Cashier’s Check?
A cashier’s check is actually a specific type of check that’s provided by a bank. A standard check is issued by an individual or business, whereas a cashier’s check is issued by a bank or credit union
Steps To Verify A Cashier’s Check
To verify a cashier’s check, you’ll need to make sure that the bank that issued the check is still valid. The only way to do this is to call the issuing bank and verify with them. Once you have verified that the bank is still valid, you can begin depositing the check.
Step 1: Verify with the issuing bank
To begin verifying a cashier’s check, you’ll need to call the issuing bank and verify that they are still valid. If it has been more than 30 days since they were issued, then you should contact them immediately. This will ensure that your deposit goes through without any issues.
Step 2: Make sure it’s not a fraudster’s check
Once you have verified that the issuing bank is still valid and hasn’t issued any bad checks in recent history, it’s time to make sure that it isn’t a fraudster trying to steal your money. While there are many ways for a person or company to try and steal your money (see our article on how banks rob people), one of their favorite methods is by using counterfeit cashier’s checks and other checks. The most common way for a fraudster to try and steal your money is through counterfeit cashier’s checks. To determine if the check you are about to deposit is counterfeit, you’ll need to verify the information on the back of the check with the issuing bank. If you have any questions regarding this or have any concerns, contact the issuing bank before attempting to deposit it.
Step 3: Get your receipt
After verifying that the check is valid, transferring funds, and receiving your receipt, you can begin depositing the check. Once you’ve deposited all of your funds into your account, print out a copy of your receipt and keep it in case anything goes wrong later on.
Step 4: Transfer funds into another account
After depositing all of your money into your account, it’s time to transfer all of them over into another account that you control. This includes both checking and savings accounts as well as investment accounts like stocks or bonds.
Step 5: Verify your new account
Once your funds have been transferred into the other account, it’s time to verify that your funds are actually there. If you’ve done everything correctly and the check was still issued by a valid bank, then this shouldn’t be an issue. However, if you notice any issues with the check or you find out that the issuing bank has issued bad checks in recent history, contact them immediately. This will ensure that your account is safe and secure.
Conclusion
If you follow these steps, you’ll be able to deposit a check without any problems. If you have any questions about this or anything else, just leave us a comment, and we’ll be sure to address them.